These instructions apply both to traditional fittings and to fittings with the advanced back-ferrule geometry. Further tighten the nut until the tube will not turn by hand or move axially in. Proper installation is critical for achieving a leak-free, vibration-resistant, and reusable seal with ferrule fittings. At Perfect Engineers, our PE-LOCK double ferrule compression fittings are precision-engineered to offer reliable connections—but only when installed correctly. Interested in more information about our process or products?The purpose of this guide is to provide comprehensive, step-by-step instructions for installing ferrule fittings. “Measure the hose wall, then use the chart.
After choosing your inlet/outlet holes and cutting them out, the seal is easy to install. It is VERY important to NOT cut the seals. The Tube Distribution Closure is a sealed closure used for blown applications. For safety reasons it is necessary that the pressure relief valve fitted in the bottom corner of the unit is pulled, before opening the closure, to ensure that there is no residual pressure within the closure. Roxtec entry seals are ideal for electrical cabinets and electrical enclosures. Our firewall rubber grommets are made from high-quality EPDM rubber, which offers exceptional resistance to corrosion, wear, flame, and insulation.
Question 1: Can mechanical utility piping or tubing containing water or compressed air be installed in cable trays with electrical cables? Answer: No. Cable trays are a support system for electrical cables, power, signal, and communication and optical fiber cables. If this cannot be avoided, ensure the gap is no less than 1 meter, with necessary heat insulation installed. The parallel safety distance between cable trays and common process pipes (e. Cable ladder systems and cable tray systems shall be manufactured in accordance with BS EN 61537, channel support. When developing our cable support OBO can offer reliable solutions for systems, three attributes are at the routing and fastening cables securely core of what we do: efficiency, resil- for each of these installation challeng-ience and safety. es in the industrial environment.
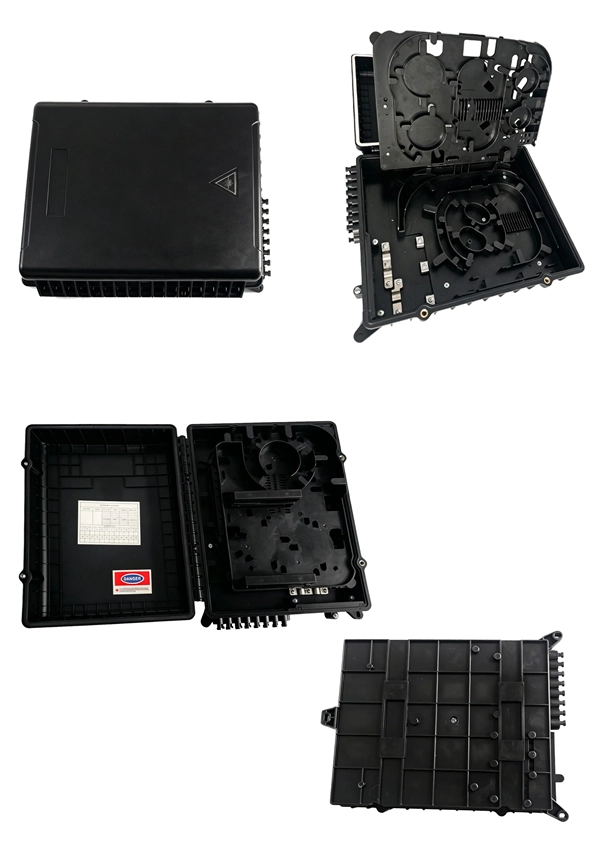
Cut a 60mm x 40mm hole in drywall using a template. Secure the box with screws (ensure depth ≥40mm). Run incoming fiber cable through the box's entry port. Attach. By following these detailed steps, the installation of your Fiber Splice Closure will be secure, organized, and maintained, ensuring high performance and longevity of your fiber optic network. Installing a fiber optic splice closure efficiently and effectively requires attention to detail and. Learn how to install a fiber optic termination box step-by-step for FTTH projects. Covers mounting, splicing, routing, labeling, and testing for indoor/outdoor use. The type of cable you select should depend on your specific networking needs. Common types include single-mode. Optical fiber to the household wall-mounted wiring box solution involves installing a wall-mounted box in the house that serves as a central point for connecting the optical fiber cable coming from the outside to the various devices inside the house. It improves performance by protecting connections and reducing signal loss. They also feature resistance to moisture, impact, chemical exposure.
[PDF Version]
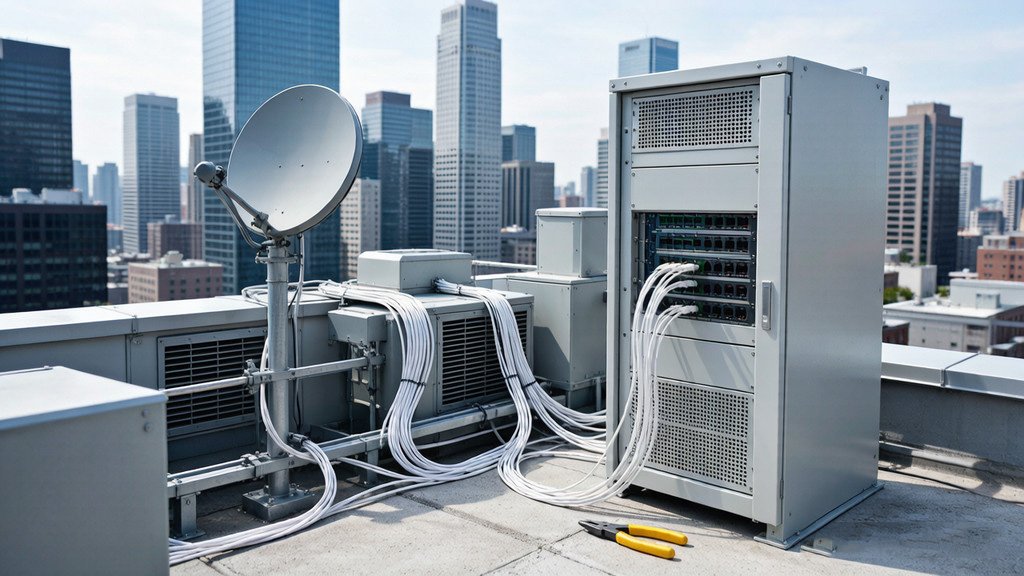
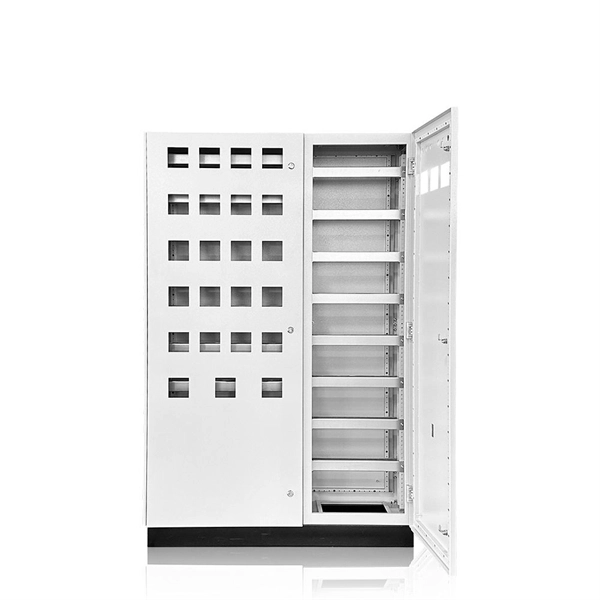
Construction begins by preparing the enclosure, drilling holes for the power inlet, output receptacles, and required ventilation. After smoothing the holes, mount the circuit breaker panel or rail securely inside the box, followed by the attachment of the ground and neutral bus. Here is the most important part—the process of installing a distribution box. Take care that we strongly recommend that you look for a professional electrician. The main power. A robust waterproof distribution box shields sensitive components from moisture, dust, and mechanical impacts. This guide primarily analyzes structural engineering characteristics, technical specifications, and actual installation procedures to achieve optimal field performance. A measuring tape and. Are you tired of drilling sloppy holes in electrical boxes? Learn the secret to drilling perfect holes every time! In this video, we'll show you a simple and easy-to-follow technique to ensure accurate and precise holes in electrical boxes. Say goodbye to messy and uneven holes and hello to. Wiring Connections Strip wires → connect to terminals (phase, neutral, ground) → arrange neatly.
[PDF Version]Contact us for competitive quotes on any of our power communication and smart grid products
Get a Quote